I didn't do any animation and but I did some lighting for my models to see how they react.
Here is the test render the guys did.
(Reno Cicero, Jeffzx Chan)
Test render:
http://vimeo.com/18019069
MadMandrill

Thursday, 13 January 2011
The entire room
So anyhow, this is how the room looks like with everything in place, pre-textures and after textures.
(Models arranged by Reno Cicero and Jeffzx Chen)
Pre-Textures:
With textures:
(Textures done by Ladji Conde)
(Models arranged by Reno Cicero and Jeffzx Chen)
Pre-Textures:
With textures:
(Textures done by Ladji Conde)
The rest of the models
Didn't update my blog in ages so its time to wrap up the rest of the models up here
Wont make any special post for the few that are left so lets start:
Phones:
these ones were simple, only problem I came across was making the dialling bit... I didn't know how to make a cylinder and inside that cylinder several carefully placed holes, and it wasnt explained anywhere on the internet or the tutorials... so I just had to come up with my own answer:
The trick I used was to make a cylinder and delete the top and bottom faces, then I made 10 smaller cylinders and placed em how I saw, and then I just made another cylinder with only the top and bottom faces, combined em all and started merging the points.
Reference Pictures:
My Models:
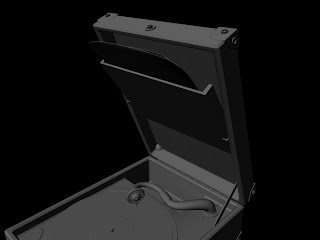
Vinyl Player:
I put most effort into this one, it was a blast modelling it, the player alone has about 25000 polys.
Apart from that there isnt much to say, no problems that I encountered couldnt be solved in less than 5min.
Reference pictures:
My model:
Tv:
This one I had to do real quick, its a simple 80's Tv. Its meant to be in the intro of the for the Movie.
Anyhow, nothing much to say about this one either.
My model:
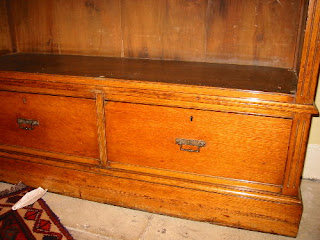
Book Shelf:
Reference pictures:
My model;
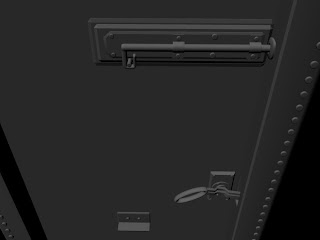
Room Pipes, and the rest of the details:
My Models;
Sunday, 2 January 2011
Whiskey bottle with the glass
So, we all know how a whiskey bottle looks like and the glass aswell.
So this model I cant back up with any reference pictures, only tricky part with this one was trying to make it hollow without having the lines overlap each other, that was mostly my mistake since I made the exterior of the bottle first and then I extruded the inside, (Note to self, this was a bad idea) but still, I reversed the normals, ticked out double sided and went to work..... Why all this trouble? well, the guys wanted to make the bottle transparent.... The glass is more or less a generic whisky glass, not much to say about this one.
My Model:
First off a wireframe screenshot to show the inside curves
Coat Hanger
For this one there weren't many references to go by, so I just found one on the internet and went with it.
The model itself was easy, central cylinder, followed by CV curve drawn polygon tubes that were later multiplied using ''duplicate special'' and for a fine touch, some spheres to close the tubes gaps.
Reference picture:
My model:
The model itself was easy, central cylinder, followed by CV curve drawn polygon tubes that were later multiplied using ''duplicate special'' and for a fine touch, some spheres to close the tubes gaps.
Reference picture:
My model:
Monday, 27 December 2010
Subscribe to:
Comments (Atom)


